
This post is part of the book Raspberry Pi Computing: Analog Measurement which can be downloaded from Leanpub for free (or donate if you wish).
Writing the Raspberry Pi's Operating System image to the SD Card
Once we have an image file we need to get it onto our SD card.
We will work through an example using Windows 7 but the process should be very similar for other operating systems as we will be using the excellent open source software Etcher which is available for Windows, Linux and macOS.
Download and install Etcher and start it up.

Select the img file that you want to install.
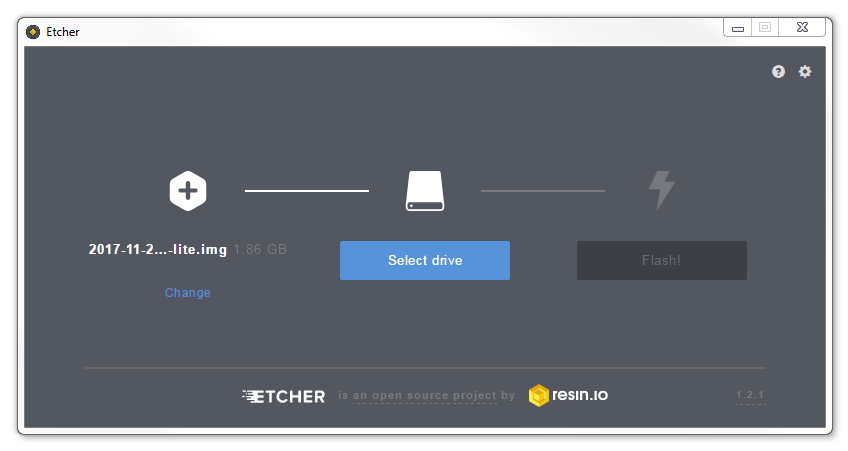
You will need an SD card reader capable of accepting your MicroSD card (you may require an adapter or have a reader built into your desktop or laptop). Place the card in the reader and you should see Etcher automatically select it for writing (Etcher is very good at presenting options for installing that are only SD cards).
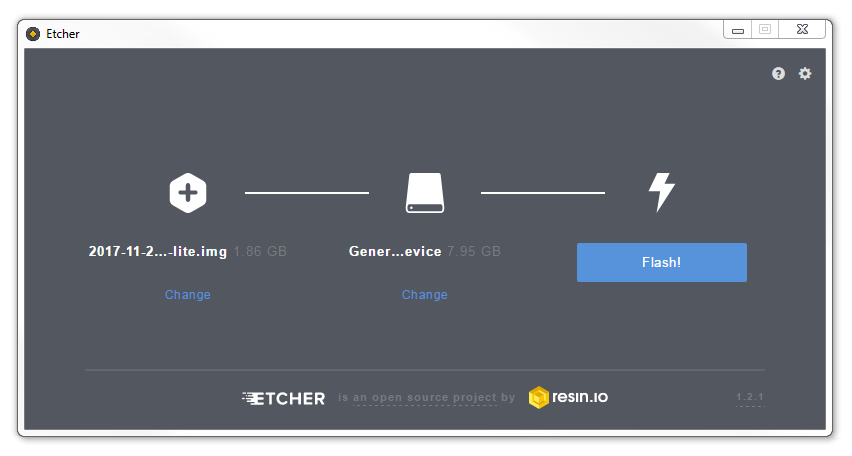
Then click on ‘Flash!’ to burn the card.

Etcher will write the image to the SD card. The time taken can vary a little, but it should only take about 3-4 minutes with a class 10 SD card.
Once written, Etcher will validate the write process (this can be disabled if desired).

When the process is finished Etcher will automatically unmount the SD card.
For more info on using the Raspberry Pi or for a range of other free to download books (there are no catches) check out the list here.
No comments:
Post a Comment