
AHT10 Temperature and Relative Humidity
It is quite common to package multiple sensors into a single package and the AHT10 is a good example that measures temperature and relative humidity.
I've written this short explanation as part of the much larger book 'Raspberry Pi Pico Tips and Tricks'. You can download it for free from here.
AHT10 Details
The AHT10 is an accurate temperature and humidity sensor in a very small package that can be accessed via an I2C interface. While it has a temperature measurement range of between -40°C and 85°C, its typical error of ± 0.3 is achieved between around 0°C and 55°C. Normal operating range for humidity is between 20 and 80% relative humidity. In that range it has a typical accuracy of ±2.

Each sensor is calibrated and tested with a product lot number printed on the surface. be aware that humidity sensors are not ordinary electronic components and should be carefully handled and operated. Prolonged exposure to high concentrations of chemical vapour will cause the sensor reading to drift.
If the sensor is exposed to adverse conditions or chemical vapours and the readings drift, it can be restored to its calibrated state by the following process;
- Drying: maintained at 80-85 ° C and <5% relative humidity for 10 hours;
- Rehydration: 12 hours at 20-30 ° C and >75% relative humidity.
The devices address is 0x38 (which we will see when we scan it) and in spite of there also being the address 0x39 also printed on the sensor PCB, there is no indication of how to enable that address. As a result, only a single AHT10 can be used on an I2C bus.
How is the AHT10 sensor accessed?
The sensor is accessed via I2C, but we can abstract the complexities of this via a pre-built MicroPython module. This was developed by Andreas Bühl. To make use of the module we will need to download it from GitHub and then copy it over to our Pico. I found this most easily accomplished by first downloading the file to the main computer and then going File >> Open on Thonny and selecting the appropriate file. From there go File >> Save as… and select the Pico as the location to save the file (making sure to save it with the appropriate name (ahtx0.py))
Because of the abstraction afforded by the library, the reading of the sensor is nicely simplified.
Connecting the AHT10 to the Pico
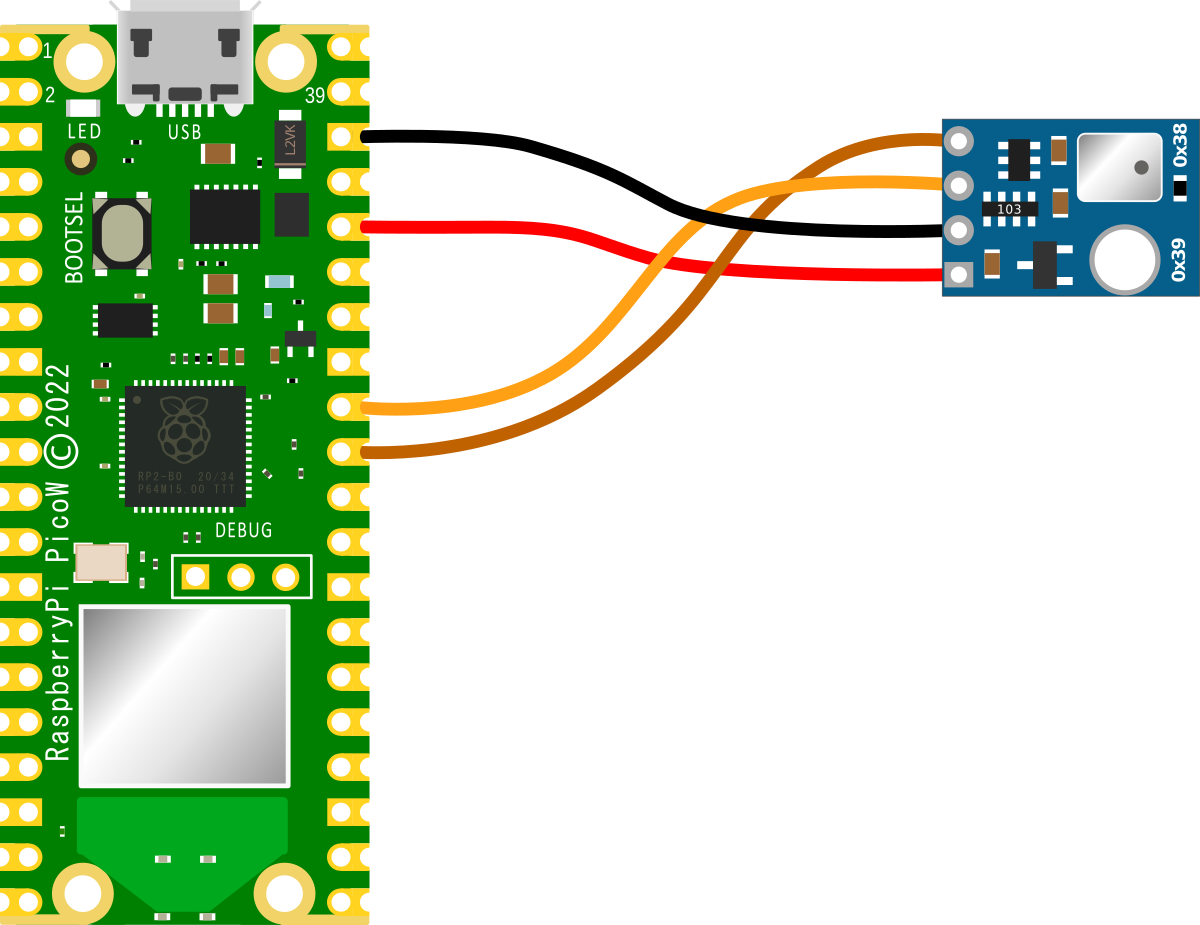
The connection is fairly simple with only four connections being required. Power, ground, Serial CLock line (SCL) and Serial DAta line (SDA). The following connections are used for this example;
- AHT10 GND to Ground (pin 38) on the Pico (Black)
- AHT10 VIN to the 3V3(OUT) (pin 36) on the Pico (Red)
- AHT10 SCL to I2C1 SCL (pin 32, or GPIO27) on the Pico (Orange)
- AHT10 SDA to I2C1 SDA (pin 31, or GPIO26) on the Pico (Brown)
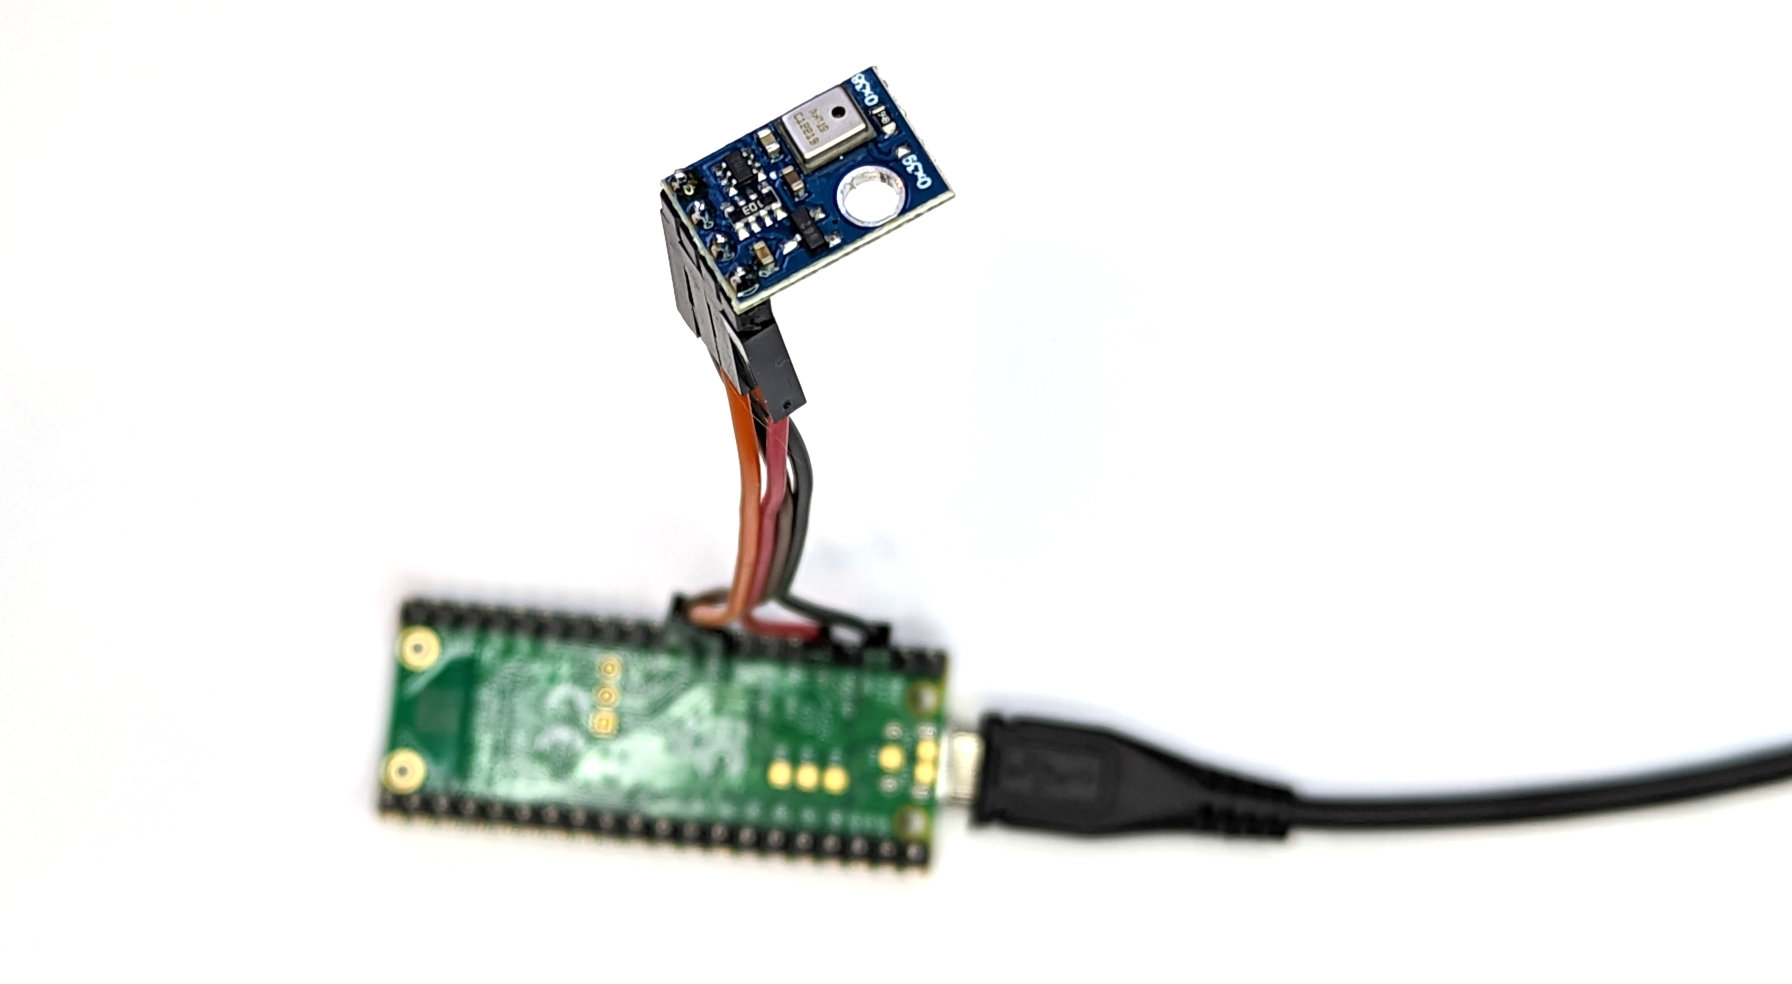
Assuming that we have header pins soldered onto our Pico and the AHT10 sensor, the easiest ways to make a connection is via Dupont connectors.
An important point to note when we are connecting our Pico is that because the RP2040 microcontroller has two I2C controllers we need to ensure that we define which controller we are using in the code. I2C0 = id 0 and I2C1 = id 1. This is set in the following lines in the MicroPython code;
Code
As a neat method of confirming the address of our sensor we can run the following code on our Pico that will scan the I2C bus;
from machine import Pin, I2C

# Create I2C object
sda = Pin(26)
scl = Pin(27)
i2c = I2C(1, scl=scl, sda=sda)

# Print out any addresses found
devices = i2c.scan()

if devices:
    for d in devices:
        print(hex(d))
This will print out;
Which is the address printed on the circuit board.
The code to measure the temperature and relative humidity is;
import time
from machine import Pin, I2C

import ahtx0

# Create I2C object
sda = Pin(26)
scl = Pin(27)
i2c = I2C(1, scl=scl, sda=sda)

# Create the sensor object using I2C
sensor = ahtx0.AHT10(i2c)

temperature = round(sensor.temperature, 2)
humidity = round(sensor.relative_humidity, 2)

while True:
    print("Temperature: ", temperature, "C")
    print("Humidity: ", humidity, "%")
    print()
    time.sleep(5)
Just a reminder that if we use different I2C pin than GPIO26 and GPIO27, we will need to check the pinout to know which I2C id should be used. In the case above it is 1.
Which produces something like the following;
To see some variation, we can softly breath on the sensor.
Don't forget, if you're looking for the book 'Raspberry Pi Pico Tips and Tricks'. You can download it for free (or donate if you wish) from here.
No comments:
Post a Comment