
A dot matrix display is a little like a compromise between the simplicity of a seven segment display and a modern screen. They have a lot of flexibility and through widely available Python modules can be easily used with a Raspberry Pi Pico.
I've written this short explanation as part of the much larger book 'Raspberry Pi Pico Tips and Tricks'. You can download it for free from here.
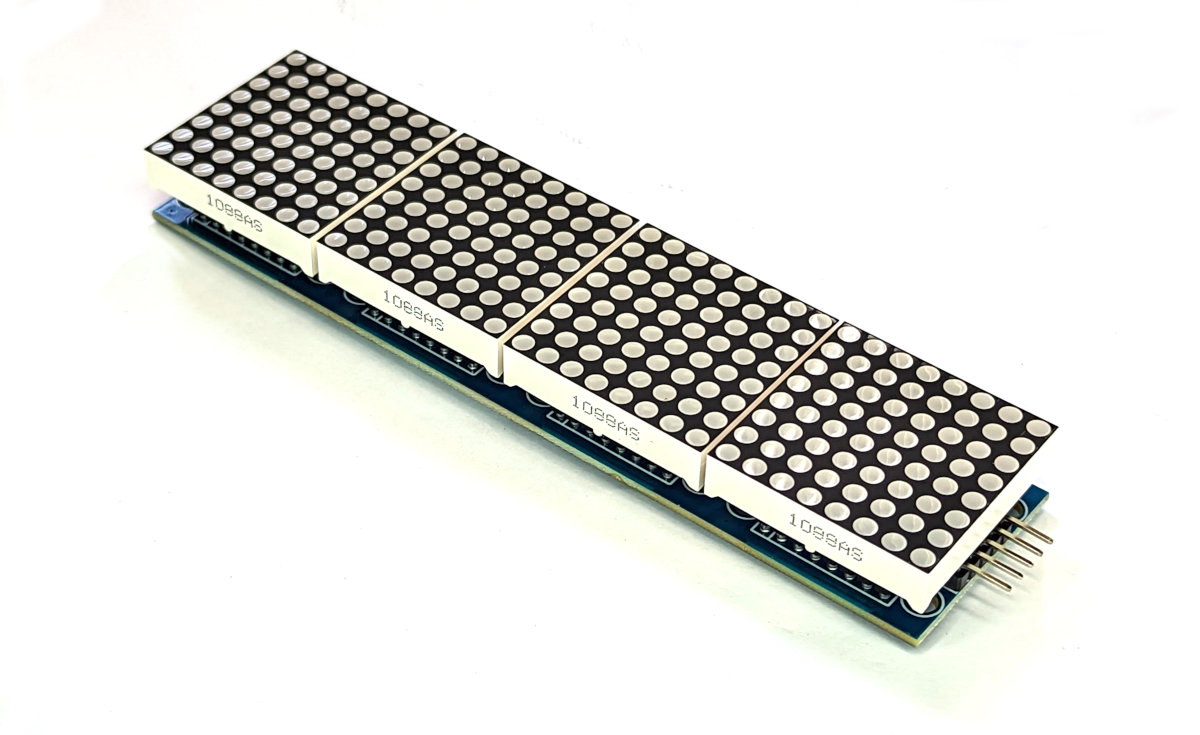
The Dot-Matrix Display
The display is an array of LEDs that can be lit in patterns to represent text, patterns and images. This tutorial will use the MAX7219 dot matrix display to demonstrate how easily they can be used. There is a good chance that you may have seen a MAX7219 module at some point since they are relatively common and inexpensive and therefore popular as a solution for display based projects. They have the additional advantage of being able to be connected together to create larger arrays and therefore images.
How is the display accessed?
The display is accessed via SPI, but we can abstract the complexities of this via a pre-built MicroPython module. This has been published on GitHub by FideliusFalcon. To make use of the module we will need to download it from GitHub and then copy it over to our Pico. I found this most easily accomplished by first downloading the file to the main computer and then going File >> Open on Thonny and selecting the appropriate file. From there go File >> Save as… and select the Pico as the location to save the file (making sure to save it with the appropriate name (max7219.py)).
Because of the abstraction afforded by the library, the reading of the sensor is nicely simplified.
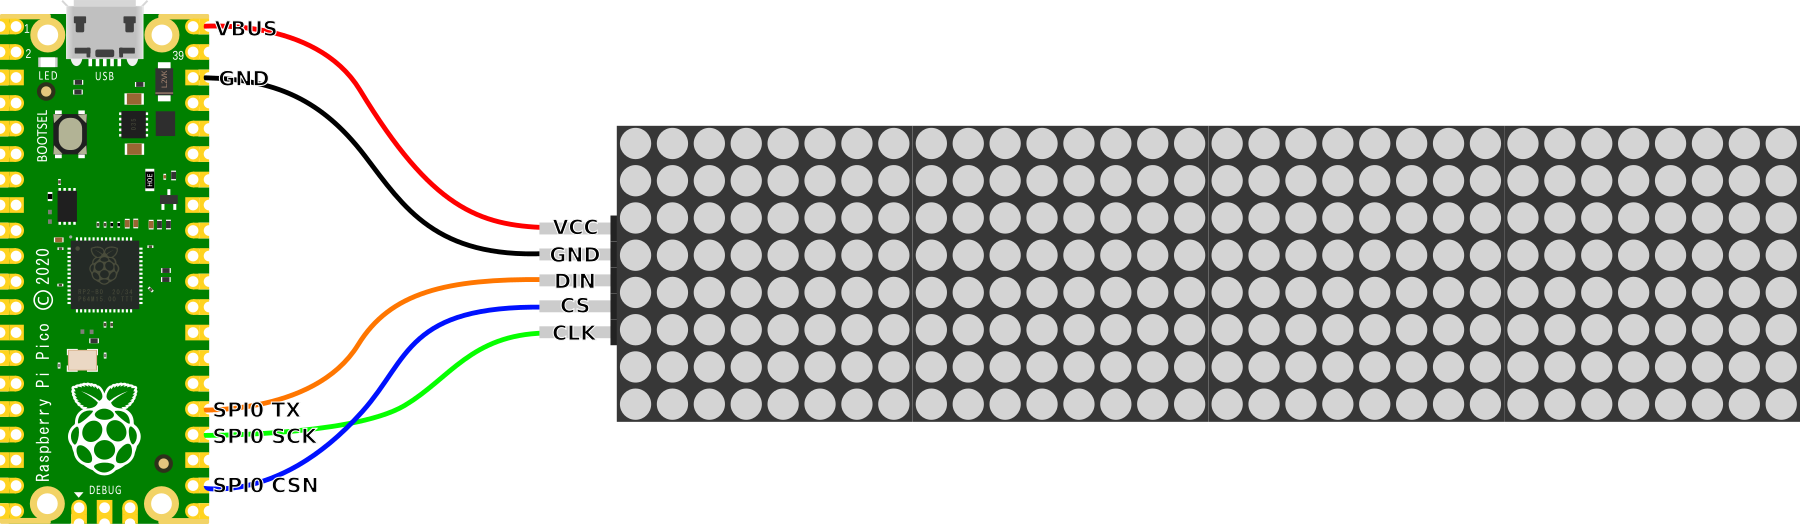
Connecting the Display to the Pico
While under normal conditions SPI interfaces rely on sending and receiving data, in this application the Pico only sends. Therefore, while we would normally include a MISO (master in, slave out) connection on the peripheral, in this case it is not required. As always, since there are a range of different ways for labelling SPI-compatible signalling lines, try not to second guess things and figure it out, The connection diagram below is correct. The table below also makes an attempt to match up the naming conventions, but honestly, the diagram is our best benchmark.
The display module is labelled ‘DIN’, ‘SCK’ and ‘CS’, so the wiring should be relatively clear (but look to the connection diagram if in doubt). As with so many of these connections, some simple Dupont connecting wires will suffice.
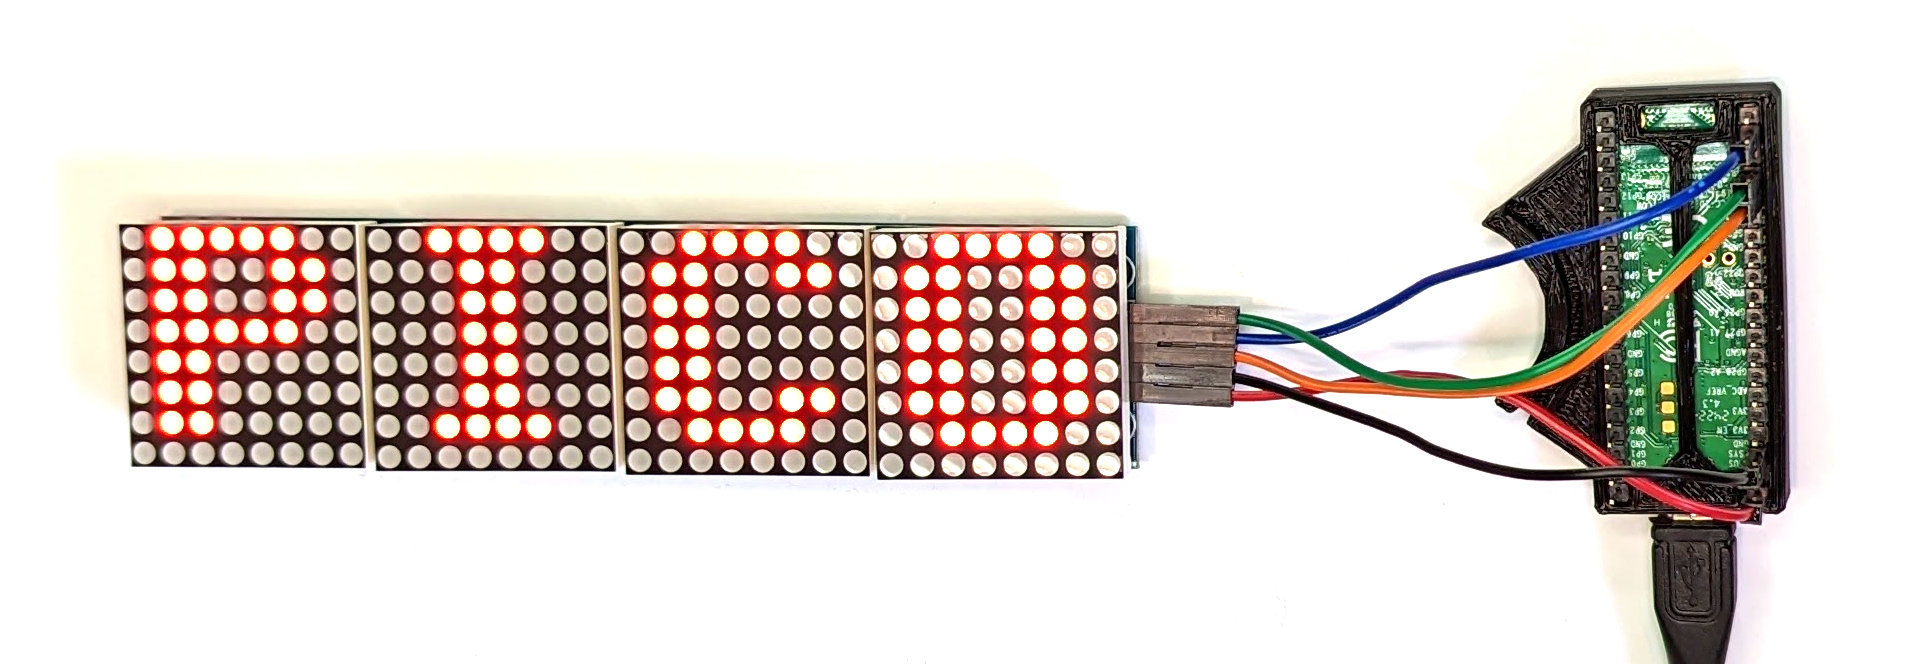
Code
The code below rotates the words ‘RPi’ and ‘Pico’ on the display. Take the opportunity add your own text and adjust the brightness settings to get a feel for the variations that are possible.
from machine import Pin, SPI
import max7219
from time import sleep

spi = SPI(0,sck=Pin(18),mosi=Pin(19))
cs = Pin(17, Pin.OUT)

display = max7219.Matrix8x8(spi, cs, 4)

display.brightness(10)

while True:

    display.fill(0)
    display.text('RPi',0,0,1)
    display.show()
    sleep(3)

    display.fill(0)
    display.text('PICO',0,0,1)
    display.show()
    sleep(3)
Scrolling
Showing text is one thing, but scrolling text is another :-). The code below takes a string of text and moves it across the face of the display.
from machine import Pin, SPI
import max7219
import time

#Intialize the SPI
spi = SPI(0, baudrate=10000000, polarity=1, phase=0, sck=Pin(18), mosi=Pin(19))
cs = Pin(17, Pin.OUT)

display = max7219.Matrix8x8(spi, cs, 4)

display.brightness(0)
scrolling_message = "RASPBERRY PI PICO SCROLLING DISPLAY"
length = len(scrolling_message)

column = (length * 8)

display.fill(0)
display.show()

time.sleep(1)

while True:
    for x in range(32, -column, -1):
        display.fill(0)
        display.text(scrolling_message ,x,0,1)
        display.show()
        time.sleep(0.05)
In this instance, play with the message and the sleep time to adjust what is being displayed and the speed of movement.
No comments:
Post a Comment